
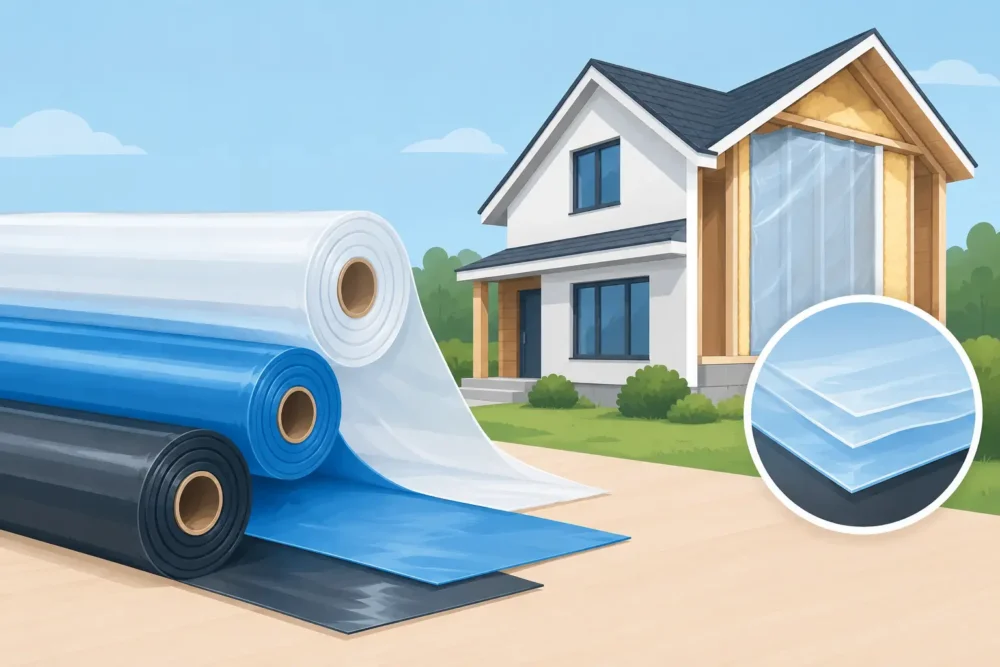
A crawl space can look dry during a quick visit and still be feeding moisture into the rest of the house. Damp soil releases water vapor continuously, and that vapor can collect on framing, insulation, ducts, and subflooring. Choosing the right vapor barrier thickness is one of the most practical ways to control that moisture before it leads to musty odors, damaged insulation, wood decay, or higher heating and cooling costs.
For many homes, a basic plastic ground cover is better than bare soil. But not all barriers perform the same over time. A thin sheet can tear during installation, puncture during service work, and pull loose at seams. A thicker, properly installed barrier is often a better investment, especially in a crawl space that needs regular maintenance or has a history of moisture problems.
What Vapor Barrier Thickness Actually Means
Vapor barrier thickness is usually measured in mils. One mil equals one-thousandth of an inch. A 6-mil polyethylene sheet is 0.006 inches thick, while a 12-mil sheet is twice as thick.
Thickness matters because it affects durability. Thicker material is generally more resistant to punctures, tears, and damage from foot traffic, stored debris, rocks, or pests. It can also be easier to install neatly because it holds its shape better than very thin plastic.
Still, thickness alone does not determine performance. The material itself, its permeability rating, seam treatment, and installation quality all matter. A barrier with gaps, unsealed overlaps, or loose edges allows ground moisture to bypass the material, regardless of how thick it is.
Is 6-Mil Plastic Thick Enough?
Six-mil polyethylene is commonly used as a minimum ground vapor barrier in crawl spaces. It can be a reasonable choice for a dry, low-traffic crawl space with a smooth soil surface and no expectation of frequent access. When installed correctly, it helps reduce the amount of moisture evaporating from the soil into the crawl space.
The trade-off is durability. Six-mil material can be punctured more easily by sharp rocks, debris, knees, tools, or technicians moving through the space. Once it tears, ground moisture has a direct path back into the crawl space. Repairs are possible, but they are often overlooked until odors, damp insulation, or visible condensation return.
For homeowners looking for a basic moisture-control measure, 6-mil may be appropriate. For a long-term crawl space improvement, it is often worth considering a thicker option.
When a Thicker Crawl Space Barrier Makes Sense
A 10-, 12-, 15-, or 20-mil barrier provides more protection against wear and tear. These materials are especially useful when the crawl space is part of a larger moisture-control or encapsulation plan.
A thicker barrier is usually the better fit when your crawl space has uneven soil, exposed rocks, plumbing or HVAC equipment that will need future service, or signs of past water intrusion. It is also a smart choice if the space has had rodent activity. Pests can disturb thin plastic, and damaged insulation or contaminated materials may require technicians to access the area more than once.
In St. Louis-area homes, seasonal humidity and heavy rain events can make crawl space moisture more persistent than homeowners expect. A durable barrier, installed with sealed seams and properly secured edges, gives the moisture-control system a better chance of holding up through changing conditions.
Thickness Recommendations by Situation
For a simple soil cover in a dry crawl space, 6-mil polyethylene may be sufficient. For a crawl space that needs occasional access or has minor roughness in the soil, 10- or 12-mil material offers a stronger balance of cost and durability.
For full crawl space encapsulation, frequent service access, ongoing moisture concerns, or homes with a history of pest damage, 15- to 20-mil material is often the more dependable choice. It costs more upfront, but it is less likely to need premature patching or replacement.
The goal is not to buy the thickest material automatically. The right choice depends on the condition of the crawl space, how the barrier will be used, and whether other problems need to be corrected first.
A Vapor Barrier Is Not a Fix for Standing Water
A vapor barrier controls moisture vapor rising from the ground. It does not solve active water entry. If the crawl space has standing water, wet soil after rain, foundation seepage, plumbing leaks, or condensation on ducts, those issues should be identified before or alongside barrier installation.
For example, a barrier placed over wet soil can reduce evaporation, but it may also hide an unresolved drainage problem. Water can still collect beneath the plastic, and moisture can still affect foundation walls, piers, and wood framing if the larger source is not addressed.
A complete inspection should look at exterior grading, downspout discharge, foundation openings, plumbing leaks, crawl space ventilation, insulation condition, and signs of mold or pests. In some homes, the right solution includes a vapor barrier along with drainage improvements, air sealing, crawl space insulation, dehumidification, or ventilation adjustments.
Installation Details Matter as Much as Material
Even premium material will underperform if it is installed casually. The ground should be cleared of sharp debris and obvious objects that could puncture the barrier. Sheets should cover the full soil surface, with enough overlap at seams to allow them to be taped or sealed.
For an encapsulated crawl space, the barrier is typically extended up the foundation walls and fastened securely. This creates a more continuous moisture-control layer than simply laying loose plastic on the ground. Around piers, pipes, and other penetrations, careful cuts and sealing help prevent gaps.
Avoid treating the project as a cosmetic cleanup. A bright white barrier may make a crawl space look cleaner, but the real value comes from stopping moisture migration and protecting the home’s structure and insulation system.
How Vapor Barrier Thickness Affects Home Comfort
Crawl space conditions affect more than the crawl space. In many homes, air moves upward through small openings around plumbing, wiring, ducts, and framing. If that air is damp, musty, or contaminated, it can affect rooms above.
Reducing ground moisture can help protect floor insulation from sagging and reduce the damp conditions that support mold growth. It may also help lessen musty odors and make floors above the crawl space feel less cold in winter. When paired with air sealing and properly installed insulation, moisture control supports a more stable indoor environment and can reduce unnecessary strain on heating and cooling equipment.
That said, results vary by home. A vapor barrier will not correct poor attic insulation, leaky ductwork, or major exterior drainage failures on its own. It works best as part of a plan based on the actual conditions found during an inspection.
Choosing the Right Barrier for Your Crawl Space
Before selecting a thickness, consider how dry the crawl space is now, whether anyone needs to access it regularly, and whether there are signs of pests, damaged insulation, mold, or water entry. A low-cost sheet may handle a simple situation, while a thicker barrier can provide better value when the crawl space needs lasting protection.
Better Home Insulation evaluates crawl spaces as part of the whole home envelope. That means looking beyond the plastic itself to identify damaged insulation, air leaks, rodent concerns, and moisture sources that can undermine the work. A professional recommendation should explain what thickness makes sense for your home, why it was selected, and what additional repairs may be needed.
If your crawl space smells musty, has exposed soil, or contains torn plastic, it is worth addressing before moisture becomes a larger repair. A well-chosen barrier and careful installation can give the space below your home a cleaner, drier role in the comfort of every room above it.