
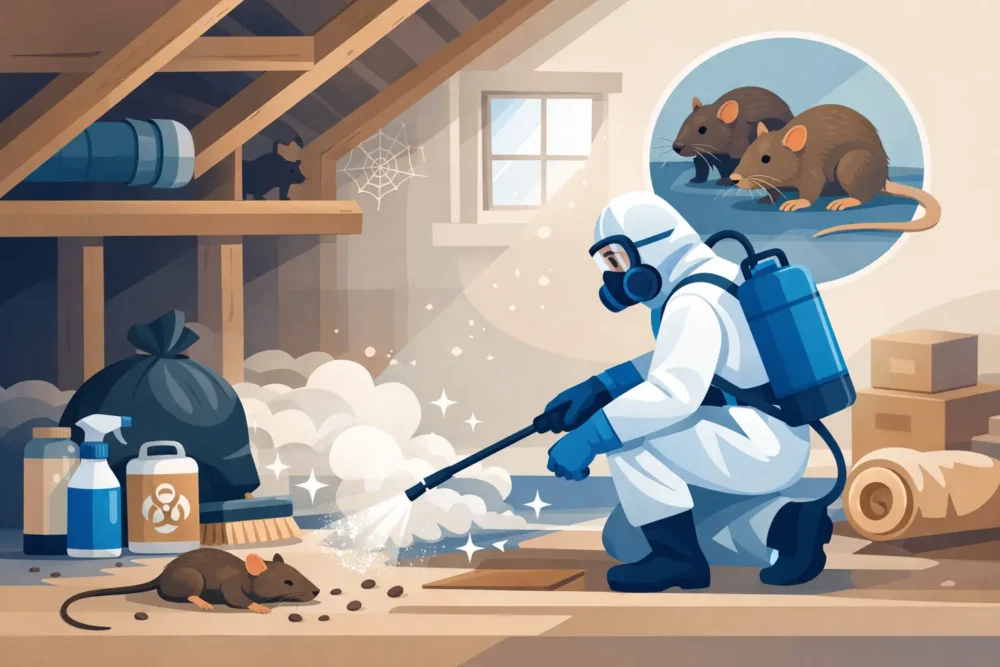
That sharp, stale odor in the attic usually tells the story before you see the droppings. If you’re figuring out how to sanitize attic after rodents, the job is bigger than spraying a little disinfectant and calling it done. Rodents contaminate insulation, leave urine and feces in hidden corners, damage air pathways, and can turn your attic into both a sanitation issue and an energy-efficiency problem.
A proper cleanup needs to protect your health first, then deal with the contamination completely. It also needs to address what rodents often leave behind – torn insulation, nesting material, and gaps that let outside air and pests keep coming in. If any part of that gets skipped, the smell, contamination, and comfort problems can linger.
Why rodent attic cleanup needs extra care
An attic with rodent activity is not like ordinary household cleaning. Droppings, urine, fur, nesting debris, and contaminated insulation can carry bacteria and other harmful particles. The biggest mistake homeowners make is sweeping or vacuuming dry droppings right away. That stirs particles into the air, which is exactly what you want to avoid.
The other issue is scale. A small amount of visible droppings near the attic hatch may look manageable, but the real contamination is often spread across insulation, joists, around ductwork, and near soffits or eaves. If rodents have been active for a while, sanitation and insulation removal may need to go together.
Before you sanitize the attic after rodents, stop the source
Before cleanup starts, make sure the rodents are gone. Sanitizing an active rodent attic is wasted effort. New droppings, fresh urine, and continued nesting will undo the work quickly.
That usually means confirming trapping or removal has already been completed and identifying entry points around roof lines, vents, pipe penetrations, wiring gaps, and top plates. In many homes, rodent entry is tied to the same cracks and openings that allow conditioned air to escape. That is why attic cleanup often overlaps with rodent proofing and air sealing.
If you’re not sure whether the activity is current, look for fresh droppings, new gnaw marks, or recently disturbed insulation. A musty ammonia-like smell can also point to ongoing activity.
Safety gear matters more than speed
If you plan to do any part of the cleanup yourself, use the right protection. At a minimum, that means disposable gloves, eye protection, clothing you can wash immediately, and a properly fitted respirator designed for contaminated dust. A basic dust mask is not enough for a heavily contaminated attic.
You also want to keep the area contained as much as possible. Avoid tracking debris through the house. Place plastic sheeting below the attic access if needed, and bag waste carefully before bringing it down.
If the attic has heavy contamination, dead rodents, strong odors, or large areas of soiled insulation, professional cleanup is usually the safer choice. That is especially true for households with children, older adults, or anyone with asthma or a compromised immune system.
How to sanitize attic after rodents step by step
The right process is methodical. Rushing creates more exposure and usually leads to an incomplete result.
1. Ventilate carefully and avoid dry disturbance
Open the attic as appropriate for airflow, but do not start by sweeping or using a shop vacuum on dry waste. The goal is to reduce airborne particles, not create them. If the contamination is extensive, even moving around too aggressively can stir up debris.
2. Spray droppings and nesting material first
Use a disinfectant or sanitizing solution intended for contaminated surfaces and soak droppings, urine-affected areas, and nesting material thoroughly. Let it sit based on product instructions so the material is damp and safer to handle.
This is the step homeowners most often underestimate. Dry removal is the wrong move. Saturation first, removal second.
3. Remove contaminated waste carefully
Once the material has been treated, use paper towels or disposable rags to pick up droppings and nesting debris. Seal everything in durable trash bags. Double-bagging is a smart precaution when contamination is heavy.
If there are dead rodents, they should also be sprayed first, then bagged and removed carefully. Avoid direct contact.
4. Evaluate the insulation honestly
This is where attic sanitation often becomes more than a cleaning project. If loose-fill or batt insulation has absorbed urine, contains droppings, or has been used for nesting, spot cleaning is rarely enough. Contaminated insulation can keep odors in place and continue affecting indoor air quality.
In mild cases, only isolated sections may need removal. In heavier infestations, full attic insulation removal is often the cleaner and more reliable fix. It also gives you a chance to inspect the attic floor, seal entry points, and replace damaged material with new insulation that performs the way it should.
5. Disinfect exposed surfaces
After debris and contaminated insulation are removed, sanitize the exposed attic surfaces. That can include joists, plywood, around penetrations, and other affected framing. Use a product labeled for disinfecting contaminated areas and follow dwell times exactly.
Not every attic surface will need aggressive treatment, and oversaturating wood is not always helpful. It depends on the extent of contamination. The goal is thorough sanitation without creating new moisture problems.
6. Address odor at the source
Persistent attic odor usually means something contaminated is still there. That may be urine-soaked insulation, hidden nesting in corners, dead rodents in inaccessible cavities, or residue left on framing.
Deodorizers can help after proper cleaning, but they should not be used as a shortcut. If the attic still smells strong after sanitation, the next step is usually a deeper inspection, not a stronger fragrance.
7. Seal entry points before reinstalling insulation
Once the attic is clean, close off the routes rodents used to get in. This step matters just as much as disinfection. If entry points remain open, the problem can return as soon as the weather changes.
A thorough attic restoration may also include air sealing around bypasses and penetrations. That improves comfort and energy performance while helping reduce future pest access.
8. Replace removed insulation correctly
After sanitation and proofing, new insulation can be installed to restore thermal performance. This is a key part of the project, not an afterthought. Rodent-damaged or compressed insulation does not insulate well, even if parts of it still look usable.
When insulation is replaced correctly, homeowners often notice benefits beyond cleanliness – more even indoor temperatures, less heat loss, and lower strain on heating and cooling equipment.
When DIY makes sense and when it doesn’t
A very small, older rodent issue in one accessible section of the attic may be manageable for a careful homeowner. But there is a clear line where DIY stops being practical.
If droppings are widespread, insulation is contaminated, odors are strong, or the attic has limited headroom and poor access, professional service usually makes more sense. The same is true if you want the problem solved completely instead of piecing together cleanup, proofing, and reinsulation through multiple contractors.
That full-service approach is often the difference between an attic that is merely less dirty and one that is actually restored.
Why sanitation and home performance go together
Rodent activity does not just create a mess. It often exposes deeper attic problems. Gaps around fixtures and top plates let pests in, but they also let conditioned air out. Damaged insulation reduces comfort and raises utility bills. Contamination can sit right next to recessed lights, duct runs, and attic hatches where energy loss is already common.
That is why many homeowners choose to treat rodent cleanup as part of a larger attic correction. In homes around St. Louis and surrounding Missouri communities, seasonal temperature swings make attic performance especially noticeable. A clean attic that is still under-insulated or full of air leaks will not deliver the comfort improvement most homeowners expect.
Signs you should call a professional attic sanitation team
Some situations call for expert help right away. Heavy droppings, visible urine staining over large areas, strong persistent odor, dead rodents in hidden spaces, or insulation that is clearly matted and soiled are all good reasons to bring in a licensed and insured crew.
Professional service is also worth considering if you want documentation, a clear scope of work, and a plan that covers removal, sanitizing, rodent proofing, and insulation replacement in the right order. Companies like Better Home Insulation handle these issues with the attic system in mind, which helps homeowners solve the contamination and the underlying performance problems at the same time.
The best attic cleanup is not the one that looks better for a week. It is the one that leaves the space cleaner, healthier, sealed up, and ready to perform like it should.