
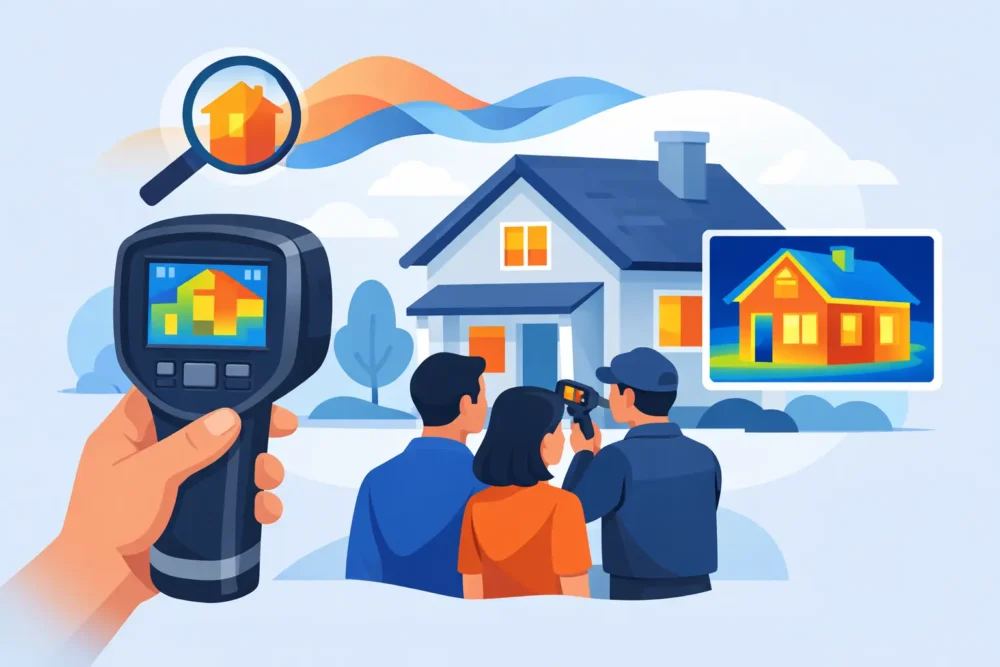
A cold bedroom over the garage, a living room that never seems to cool down, or a utility bill that climbs without a clear reason can all point to problems hidden behind walls and above ceilings. A thermal imaging home inspection guide helps homeowners understand how an infrared camera can reveal temperature patterns that ordinary visual inspections miss.
Thermal imaging does not see through walls or diagnose every problem by itself. What it does provide is a clear map of surface temperature differences. When a trained professional compares those patterns with the home’s construction, insulation levels, air movement, and moisture history, the camera becomes a valuable diagnostic tool. It can help identify where conditioned air may be escaping and where a targeted repair could improve comfort and efficiency.
What Thermal Imaging Shows in a Home
An infrared camera detects heat energy, then displays warmer and cooler surface areas in different colors or shades. The colors are not the diagnosis. They are simply visual evidence of a temperature difference that needs to be interpreted correctly.
For example, a cool stripe across a ceiling during winter may indicate missing or compressed attic insulation. It could also reflect an air leak at a ceiling joint, a framing member, or a duct issue above the ceiling. A professional inspection looks beyond the image to determine which explanation fits the home.
Thermal imaging is especially useful because many home performance issues are out of sight. Insulation may have settled, been disturbed by rodents, become wet, or never been installed evenly in the first place. Air leaks often occur around attic penetrations, recessed lights, plumbing stacks, wall transitions, and access hatches. These conditions can make heating and cooling equipment work harder while leaving rooms uncomfortable.
When a Thermal Imaging Home Inspection Is Most Useful
A thermal scan is most revealing when there is a meaningful temperature difference between indoors and outdoors. In the St. Louis area, winter heating season and hot summer cooling periods can create favorable conditions for finding energy-loss patterns. The ideal timing depends on the concern being investigated and the weather on the inspection day.
Homeowners often schedule an inspection after noticing a recurring comfort or efficiency issue. Common reasons include uneven temperatures from room to room, unusually high heating or cooling bills, drafts near walls or ceilings, condensation concerns, or an attic that has not been evaluated in years.
It can also be useful before or after major insulation work. Before work begins, thermal imaging can help locate areas that deserve closer attention. After air sealing or insulation upgrades, it may help verify whether the previously identified temperature pattern has improved. It is one part of quality control, not a substitute for checking insulation depth, ventilation, moisture conditions, and the condition of the attic or crawl space.
What a Professional Inspection Process Looks Like
A useful inspection begins with a conversation, not a camera. The technician should ask which rooms are uncomfortable, when the problem occurs, whether utility costs have changed, and whether there have been roof leaks, plumbing leaks, pest activity, or past renovation work. Those details help focus the inspection.
The thermal scan may include interior ceilings, exterior walls, windows, doors, attic access points, knee walls, floors over crawl spaces, and areas around ducts. If accessible and safe, the attic or crawl space should also be examined directly. Looking at both sides of a building assembly often provides a more accurate picture than scanning the finished room alone.
A trained inspector may use other methods alongside infrared imaging. Visual checks can reveal thin insulation, disconnected ducts, damaged vapor barriers, rodent contamination, or blocked ventilation. Moisture meters can help evaluate suspicious areas. Air movement tests may confirm whether a cool pattern is caused by leakage rather than insulation alone.
The goal is to connect the evidence to a practical repair plan. In many homes, the right answer is not simply adding more insulation. Air sealing often needs to happen first. Otherwise, warm or cool air can continue moving through gaps, reducing comfort and carrying moisture into the attic or wall assembly.
Common Problems an Infrared Scan Can Help Find
Thermal imaging is effective at identifying patterns associated with several common home-envelope issues:
- Insulation gaps, settling, compression, or uneven coverage in attic floors, walls, and ceilings.
- Air leakage around ceiling penetrations, attic hatches, exterior doors, windows, and plumbing or wiring openings.
- Drafty floors above crawl spaces, cantilevers, garages, or unconditioned basements.
- Temperature irregularities near ducts that may suggest duct leakage, missing insulation, or poor connections.
- Moisture-related temperature anomalies that need further testing to determine whether water intrusion is present.
A scan can also help locate areas affected by rodents. Pest activity may disturb insulation, create pathways for outside air, or leave contaminated material that should be removed rather than covered. In these situations, a complete remedy may include rodent proofing, insulation removal, sanitation, air sealing, and replacement insulation.
What Thermal Imaging Cannot Tell You on Its Own
An infrared image is not proof of a specific defect. A dark area might be an air leak, but it could also be a cold framing member, a shadow effect, a wet surface, or a temporary temperature change caused by sunlight. Exterior scans are particularly sensitive to direct sun, wind, wet weather, and changing outdoor temperatures.
The camera also cannot measure R-value directly or show the exact thickness of insulation behind a finished wall. It cannot see every moisture issue, identify mold species, or replace a roof, plumbing, or electrical inspection. The value comes from using the camera as part of a broader assessment.
That is why a low-priced scan with no explanation can be disappointing. Homeowners should expect clear findings, appropriate limits on what the images mean, and recommendations that address the likely cause of the issue. If a potential moisture problem is found, the next step should be confirmation and correction of the water source, not assumptions based on color alone.
How to Prepare for an Inspection
You do not need to prepare extensively, but a few simple steps can make the visit more productive. Keep interior access clear around problem rooms, attic hatches, crawl space doors, and major mechanical equipment. Make a note of rooms that feel too hot, too cold, drafty, or humid, including the time of day and season when the issue is most noticeable.
If possible, maintain a normal indoor temperature before the appointment. Avoid opening windows immediately beforehand, since that can temporarily affect surface temperatures and make patterns harder to interpret. Let the inspector know about recent leaks, remodeling projects, pest problems, or newly installed HVAC equipment.
It also helps to bring recent utility bills if rising costs are a concern. Bills alone do not prove that insulation is the problem, but they provide context. A technician can compare the home’s comfort complaints with the building conditions observed during the inspection.
Turning Findings Into the Right Repair
The best recommendations are specific to the home. An attic with thin insulation but many open penetrations may need thorough air sealing before new insulation is installed. A crawl space with damp insulation may require moisture control and a vapor barrier before insulation replacement. A room over a garage may need both better insulation and duct repairs if the supply duct is leaking into an unconditioned area.
Homeowners should also consider durability, not just the immediate cost. Covering contaminated insulation or ignoring a roof leak may create a larger problem later. A complete approach addresses the cause, removes damaged materials when necessary, and restores the assembly so it can perform as intended.
Better Home Insulation uses inspection-led recommendations to help homeowners identify practical improvements in attics, crawl spaces, walls, and other problem areas. Licensed and insured technicians can explain what the images suggest, what should be verified, and which repairs are likely to make the biggest difference in comfort and energy use.
A thermal inspection is most valuable when it leads to a clear next step. If one room keeps pulling a blanket over the rest of the house, treat that discomfort as useful information. Finding the reason behind it can turn an ongoing annoyance into a repairable home performance issue.