
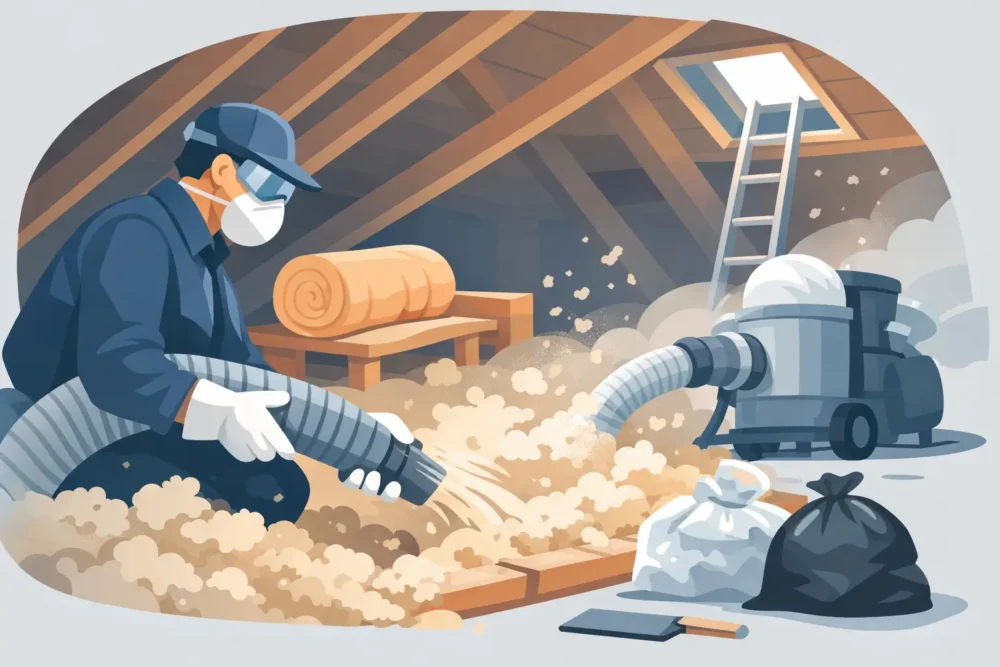
A hot upstairs bedroom, rising utility bills, rodent odors, or dusty air near attic access can all point to a bigger issue above the ceiling. Knowing how to prepare for attic insulation removal helps protect your household, prevents avoidable mess, and gives you a better opportunity to correct the conditions that damaged the insulation in the first place.
Removing old insulation is not simply a cleanup project. Insulation may contain dust, animal waste, mold-related debris, sharp materials, or, in older homes, products that require specialized testing and handling. A careful plan allows the work to improve comfort and indoor air quality rather than create a new problem.
Start With a Professional Attic Assessment
Before anyone removes a single bag of insulation, the attic should be inspected for the reason the existing material needs to go. Insulation can lose effectiveness from age and compression, but contamination, roof leaks, poor ventilation, and pest activity require a more complete solution.
During an assessment, a qualified insulation contractor should look at the insulation type and depth, signs of moisture, roof penetrations, exposed wiring, ductwork, ventilation paths, and evidence of rodents or insects. Thermal imaging can also help identify areas where conditioned air is escaping from the home into the attic.
This step matters because new insulation installed over an unresolved problem may not deliver the comfort or energy savings you expect. For example, replacing rodent-damaged insulation without sealing entry points can lead to another infestation. Removing wet insulation without repairing the leak can invite recurring moisture damage. In many homes, attic air sealing, ventilation improvements, sanitizing, or rodent proofing should be scheduled as part of the same project.
Identify the Insulation and Any Safety Concerns
Most attic insulation removal involves fiberglass batts, blown-in fiberglass, cellulose, or mineral wool. Each material requires proper containment and disposal practices, especially when it is soiled or contaminated. Cellulose and fiberglass can become airborne during removal, irritating the skin, eyes, and respiratory system without appropriate protection.
Older homes deserve additional caution. Vermiculite insulation may be associated with asbestos contamination and should be treated as a potential hazard until a qualified professional advises otherwise. Do not disturb it, sweep it, or use a household vacuum to remove it. Testing and removal requirements depend on the material, its condition, and applicable regulations.
If the attic has extensive animal droppings, nesting, dead pests, visible microbial growth, or strong odors, tell the contractor before work begins. Those conditions affect the protective equipment, containment approach, cleanup process, and scope of sanitizing needed afterward. A clear description and photos, when safe to take, can help the contractor prepare the right crew and equipment.
Clear the Homeowner Tasks Before Removal Day
Professional crews handle the heavy lifting and containment, but a few simple preparations make the work safer and more efficient. Start by creating a clear path from the driveway or work area to the attic access. Move vehicles from the garage or driveway if the crew needs room for removal equipment, collection bags, or a vacuum truck.
Inside the home, remove fragile items, stored belongings, and loose rugs near the attic hatch, pull-down stairs, or access point. The crew may use protective coverings and containment, but clearing the area reduces the risk of damage and makes it easier to maintain a clean work zone.
If your attic access is in a closet, bedroom, hallway, or garage, empty enough space for technicians to work safely. Let them know about tight stairways, low ceilings, narrow gates, parking restrictions, or other access limitations ahead of time. These details can affect the equipment and staffing needed for the job.
It is also helpful to secure pets in a separate room or arrange for them to be away from the home. Removal equipment can be noisy, and open doors or active work areas are not ideal for curious pets. Families with infants, people with respiratory sensitivities, or anyone working from home may prefer to be elsewhere while the removal is underway, depending on the scope of the project and containment plan.
Protect What Will Stay in the Attic
Not every item in an attic should be removed, but everything left behind needs to be considered. Tell the contractor about stored belongings, holiday decorations, HVAC equipment, water lines, recessed light fixtures, security wiring, solar components, or other systems before work starts.
Whenever possible, remove personal storage items from the attic yourself. Old boxes and fabrics can hold dust and pest debris, and they make it harder to see the attic floor and complete removal thoroughly. If items cannot be moved, ask how they will be protected and whether they may need cleaning afterward.
Electrical safety deserves special attention. Exposed junction boxes, loose wiring, outdated fixtures, and recessed lights can create hazards when insulation is disturbed. A professional crew should work carefully around electrical components, but damaged or questionable wiring may need evaluation by a licensed electrician before new insulation is installed.
Plan for the Work That Should Happen Next
The best time to address hidden attic performance issues is after the old insulation is removed and before new material covers the attic floor. Once the attic is clear, technicians can see gaps around plumbing stacks, wiring penetrations, top plates, chimney chases, duct connections, and other common escape routes for heated and cooled air.
Air sealing is often one of the highest-value improvements to make at this stage. It helps prevent conditioned air from leaking into the attic, which can reduce drafts, improve room-to-room temperatures, and lessen the workload on heating and cooling equipment. It can also help limit warm, moist indoor air from reaching a cold attic surface during winter.
Ventilation should be evaluated rather than assumed. An attic needs a balanced approach that supports roof durability and moisture control, but adding vents without understanding the existing roof design can be counterproductive. Soffit vents may be blocked by insulation, ridge vents may be inadequate, or bathroom exhaust fans may be venting into the attic instead of outdoors. Each issue calls for a different repair.
If there has been rodent activity, proofing should come before new insulation. Entry points around rooflines, utility penetrations, attic vents, and siding transitions should be identified and sealed with appropriate materials. Cleanup and sanitizing can then address contaminated surfaces before fresh insulation is installed.
Understand Disposal, Recycling, and Cleanup
Ask in advance how the removed insulation will be collected, transported, and disposed of. Contaminated insulation generally cannot be reused. Eligible clean materials may sometimes be recycled, while other materials must go to an approved disposal facility.
A professional removal process should focus on containing debris rather than allowing it to drift through living areas. Ask what protections will be used around the attic access, how the work area will be cleaned, and whether sanitizing is recommended based on the condition of the old insulation.
It is reasonable to ask for the project scope in writing. A clear estimate should explain removal, disposal, air sealing or repairs if included, replacement insulation type, target R-value, and any recommended moisture, ventilation, or pest-control work. This helps you compare options based on the full condition of your attic, not just the price of removing material.
Prepare for Better Insulation, Not Just a Cleaner Attic
Once the attic is clean, dry, sealed, and ready, the replacement insulation should match your home’s needs. The right R-value depends on factors such as local climate, existing building conditions, available attic depth, and the type of insulation selected. More insulation is not always the only answer if major air leaks or moisture issues are still present.
For homeowners in the St. Louis area, seasonal heat, humidity, and winter cold make attic performance especially noticeable. A properly prepared removal project can create the right foundation for insulation that supports more even indoor temperatures, cleaner conditions, and lower heating and cooling costs.
If you are unsure what is in your attic or why it has deteriorated, do not guess or disturb it yourself. A free inspection and clear recommendations from a licensed, insured insulation professional can turn a messy attic concern into a practical plan for a healthier, more comfortable home.